
Windows 10 permits you to instantly share files with other users over a private or public network. But after the latest update of Windows 10, some features of file sharing over a network are changed, consisting the removal of Home Group. You can enable the permissions of a shared file or folder to permit groups or users to have a read-only, edit (modify), or complete control access rights.
This post will demonstrate you how to setup and share information over a network in Windows 10.
How to Share Files and Folders
Follow the guidelines to instantly share file and folders on Windows 10.
- Open File Explorer (Win + E).
- Right-click or press a file, select Give access to > Specific people.
- Select a file, select the Share tab at the top of File Explorer, and then in the Share with section select Specific people.

- Select a name of a user account on your PC or Everyone if you want to share it publicly over a network.
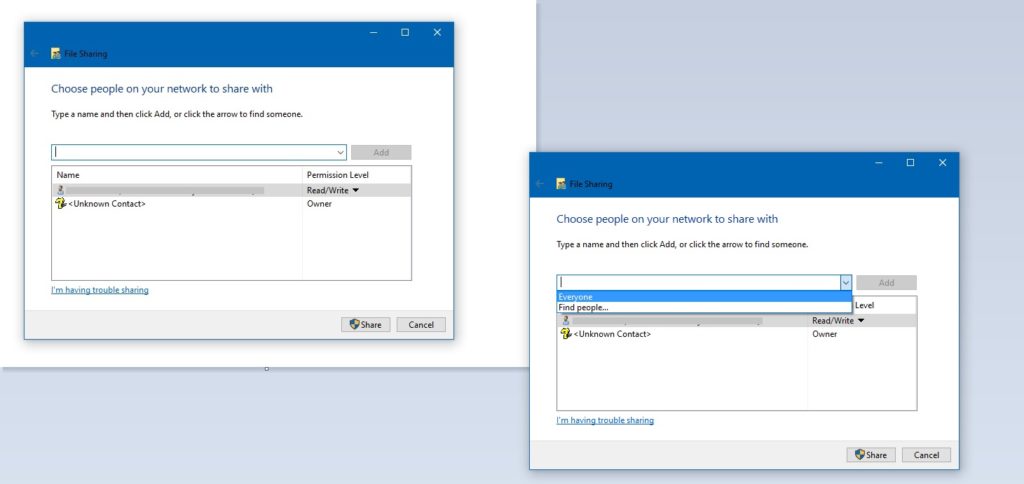
- If the user is not available on the list, Click/tap on Add.

- After completing the user addition, click/tap on the Share button at the bottom.

- Click/tap on Done.
If you choose numerous files at once, you can share them all in the similar way. This method is also applicable for folders and all files in it will be shared.
How to Restrict File Sharing
File sharing restriction does not put any impact on the users you have chosen to share the file or folder within advance sharing option.
- Open File Explorer (Win+E).
- Choose one or more file, folder or library you want to stop sharing with everyone.
- Right-click or press and hold on preferred item(s), click/tap on Remove Access.
In the upgraded version of Windows 10, Remove Access option is shown for all files whether those are being shared over a network or not.